In Part 2 you created your first animated mobile app using Android Studio. Now in Part 3 you'll conclude your introduction to mobile application development with Android Studio. First, you'll use Gradle, an open source build automation tool, to build the app's application package (APK) file. Then you'll get instructions to set up and run the app on an Android device emulator or a Kindle Fire HD tablet.
Building the app
You've loaded your source code and resource files into your Android Studio project and now you're ready to build your app for the first time. In the project window you'll see that Android Studio provides a Build menu. You'll use this menu to access Gradle and build W2A.
Under Gradle in the project window, select Rebuild Project. Gradle will start the build process, which may take a minute. If all goes well, the Gradle Console window should soon show a BUILD SUCCESSFUL message.
Instead of selecting Rebuild Project, you could attempt to run the app directly. In this case, Android Studio would instruct Gradle to rebuild the project. Assuming a successful rebuild, Android Studio would ensure the app's APK file (containing executable code, resources, and other information) was installed on your real or emulated Android device, then run the app. (Note that in some cases using Instant Run makes it unnecessary to restart the app.)
Additional tasks
In addition to a basic build feature, Android Studio's Build menu lets you do a number of useful build tasks. For example, notice the Build APK and Generate Signed APK menu items, which you can use to build a signed version of the app's application package file, or a version used specifically for debugging.
Running the app
Also in the project window, the Run menu provides menu items for running and debugging an app. In this section, you'll learn how to run W2A on an emulated device and on an Amazon Kindle Fire HD tablet.
Running W2A on an emulated device
You can run W2A or another app by selecting the Run menu's Run 'app' menu item. Alternatively, you can click the green triangle button on the tool bar. Either way, Android Studio responds with the Select Deployment Target dialog box.
Because I'm using a non-Intel processor and have yet to set up the Amazon Kindle Fire HD tablet, my only option for running the app was to use an emulator. The dialog box identifies a single emulator that I couldn't use because Android Studio is unable to parse its properties. To work around this, I clicked the Create New Emulator button. Android Studio responded with the Virtual Device Configuration dialog box showing a variety of emulators. Nexus 5x is highlighted below.
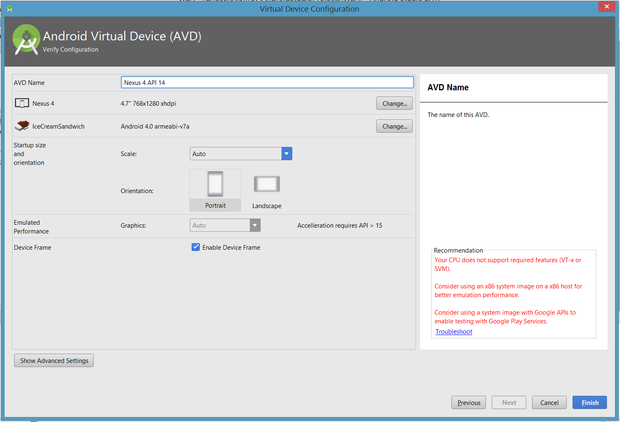
I selected Nexus 4 and clicked Next. The resulting System Image dialog box invited me to select a system image. I clicked the Other Images tab followed by IceCreamSandwich (without the Google APIs).
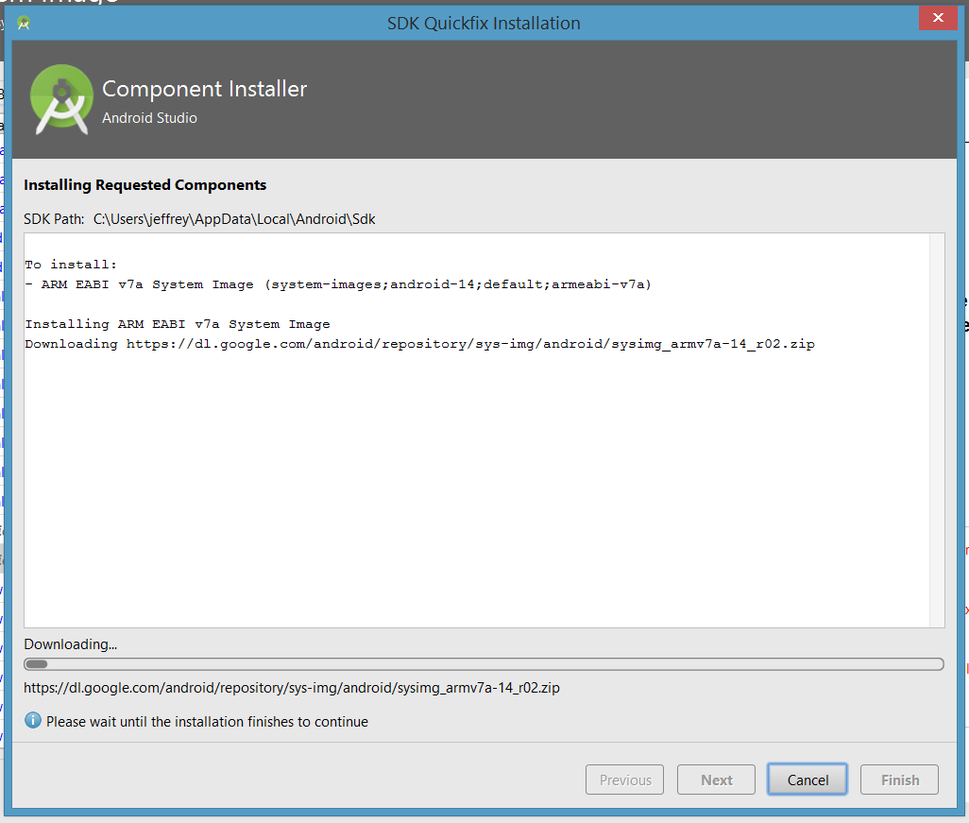
Once you've got your own emulator set up, you'll need to click the Download link to download the image, which isn't installed by default. After accepting the license agreement, click Next. The component installer starts downloading the components.
Select IceCreamSandwich in the resulting list followed by Next. You can now configure an AVD.
Select Run 'app' from the Run menu or select the green triangle icon on the tool bar. Once more, Android Studio responds with the Select Deployment Target dialog box. This time, highlight the Nexus 4 API 14 entry and click OK.
The emulator first presents a splash screen. After a few moments, this screen is replaced by a frame window for the Nexus 4 device.
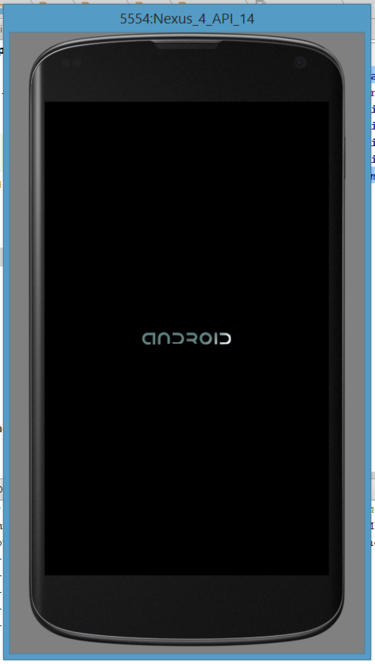
It can take a long time for the emulator to finish initializing. In my case, it took more than 10 minutes, which was too long for Android Studio: it gave up and presented the following error message:
If you encounter this error, get yourself a cup of coffee and read a magazine. When you come back, you should observe the emulated device's startup screen.
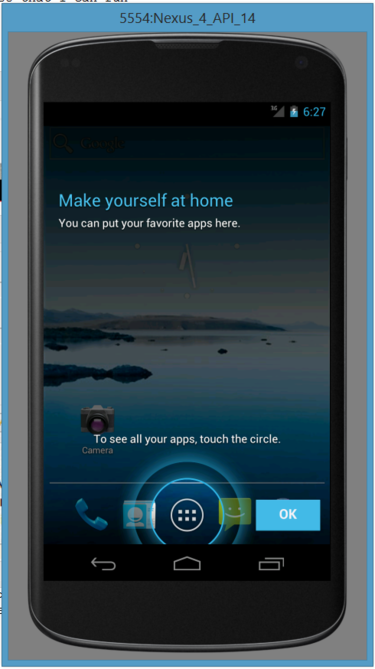
Dismiss the startup screen and navigate to the app launcher screen. You will not yet see the W2A app icon on this screen.
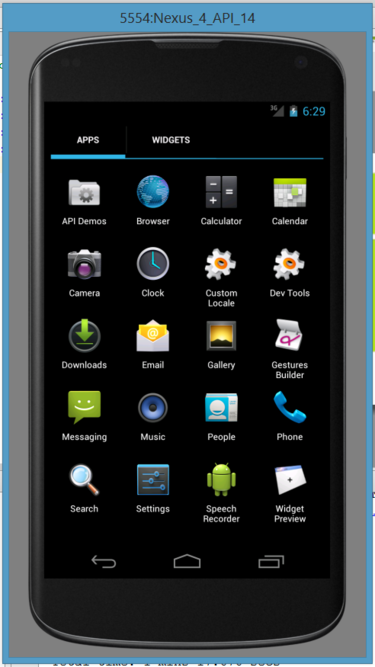
Run the app a second time. If all goes well, you'll see messages about the app being installed. Also, you'll see the default Android icon for the W2A app on the app launcher screen.
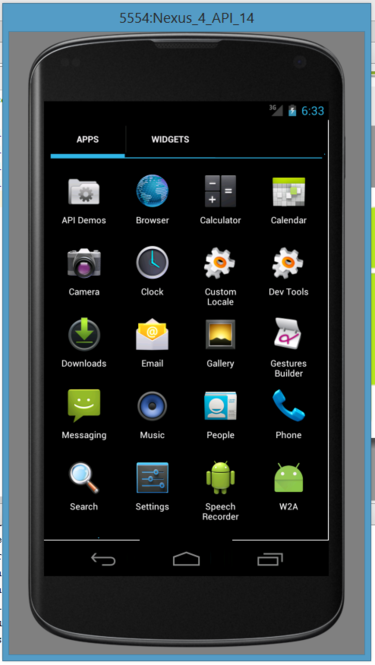
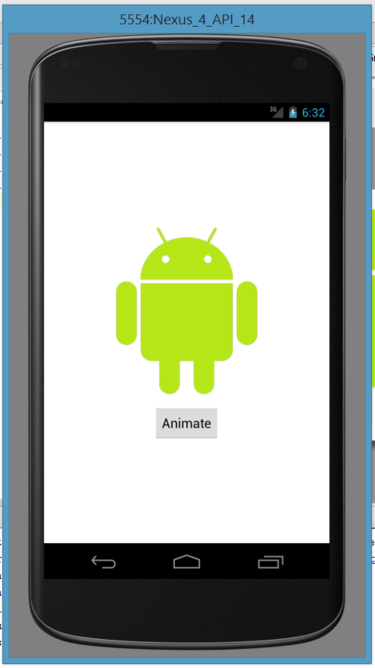
You don't have to click the icon because W2A automatically starts running. You'll observe the green Android logo and a button labeled Animate.
Running the app on the Amazon Kindle Fire HD tablet
Running an app via a slow emulator can be very frustrating. One solution is to use faster emulation software, such as GenyMotion's Android emulator. Another solution is to use an actual Android device.
A few years ago, I purchased a first-generation 2012 Amazon Kindle Fire HD 7" tablet, which runs Android 4.0.3 (API Level 15). I use this tablet to run Android apps that don't require the latest Android APIs.
While researching how to use my Kindle Fire tablet with Android Studio, I found two useful guides from Amazon: "Setting Up Your Development Environment for Fire Tablets" and "Connecting Your Fire Tablet for Testing." I'll summarize the process of connecting a Kindle Fire device to Android Studio, but refer to these guides if you need more information.
First, if you're a Windows user like me, you'll need to start by uninstalling the non-ADB (Android Debug Bridge) driver that's installed when your Kindle Fire tablet is connected to your development computer, without first enabling ADB. Then you'll install Amazon's USB driver.
Next, download the Kindle Fire USB driver. The downloaded ZIP archive contains a
KindleDrivers.exe application.
Execute
KindleDrivers.exe and follow the resulting instructions. I ended up with a C:\Program Files (x86)\Amazon.com\Fire_Devices\Driversdirectory containing the necessary driver files.
After installing the drivers, you'll need to enable ADB on your tablet. Then, you'll connect the tablet to your development computer. See the Amazon guide if you need additional instructions for connecting your tablet to Android Studio.
Once you have everything set up, start Android Studio, load the W2A project, and run the W2A app. This time, the Select Deployment Target dialog should show an Amazon KFTT entry in the Connected Devices section. Select this entry and click OK. Android Studio will respond by directing Gradle to build the app.
Despite various error messages about various API types not being found, Android Studio successfully installed the APK on my device and automatically ran the app.
Figure 12 shows the W2A app icon on the app launcher screen.
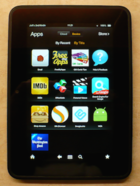
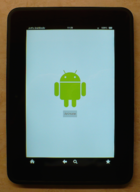
Figure 13 shows the W2A app running.
Conclusion :
You've written, built, and run your first Android Studio application, so you might be wondering what's next. Use the examples and source code from the three beginner tutorials to develop a new project of your own. Keep your projects simple while you learn the ins and outs of working with Android Studio and its built-in features, but do challenge yourself to experiment.
Of course, there's more that you can do with Android Studio than what you've learned so far. In my next article I'll introduce built-in tools for profiling and debugging your Android Studio apps, as well as three plugins that you can use to extend Android Studio with additional features.




No comments:
Post a Comment
Paste Your Website and Article Link To Create Do-Follow Backlink